Tutorial: Vibe Code a component with Figma MCP and Cursor in under 5 Minutes
Hey there,
Vibe coding can feel overwhelming and look complicated!
But I’ve got you 💪
In this tutorial, I’ll show you how to set up Figma MCP and Cursor and vibe-code your first component in under 5 minutes!
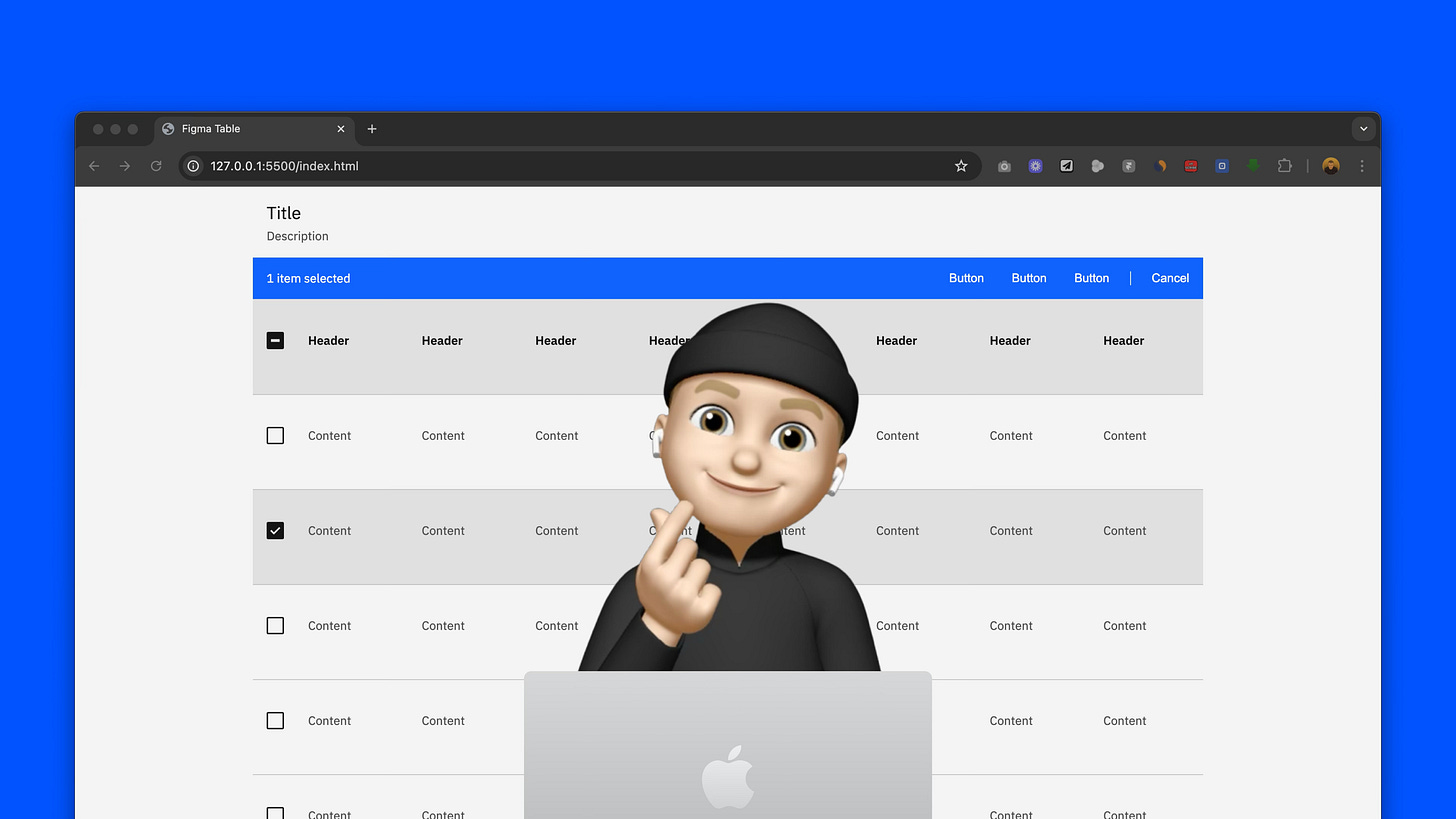
👀 The result should look like something like this (a vibe coded data table in your browser)
Ready?
Let’s go 💨
If you want to learn more about vibe coding Design Systems and how teams implement AI in their Design System work
Check out our upcoming events:
👉 Oct 22: Into Design Systems - Vibe Coding Design Systems - Online Jam
👉 March 2026: Into Design Systems Vibe Coding Conference
Figma MCP tutorial for beginners:
1. Download and install Cursor: https://cursor.com/download
2. Enable Figma MCP in Figma
Go to the Figma Logo → Preferences → Enable local MCP server
Leave the modal open!! (don’t click on done yet)
3. Connect Figma MCP to Cursor
In Figma’s modal select “Cursor” and copy paste the code
Go to:
Cursor → Settings → Cursor Settings
Click on Tools & Integrations
Paste the code snippet in the mcp.json file and save (CMD + S)
(it is also described in the modal ;) )
4. Install Live Server to preview your work
In Cursor close the project CMD + W or restart the app so you see the home screen of the app again
Hit CMD + B to open the left panel
Go to the tab Extensions and Marketplace
Search for Live Server by Ritwick Dey
Install it
Good job!
You made it!
Let’s finally create something!
5. Open your UI Kit file or use a free community file
If you have a UI Kit:
open the file and select a component
If you don’t have a UI Kit you can use Carbon Design System by IBM (free Figma file)
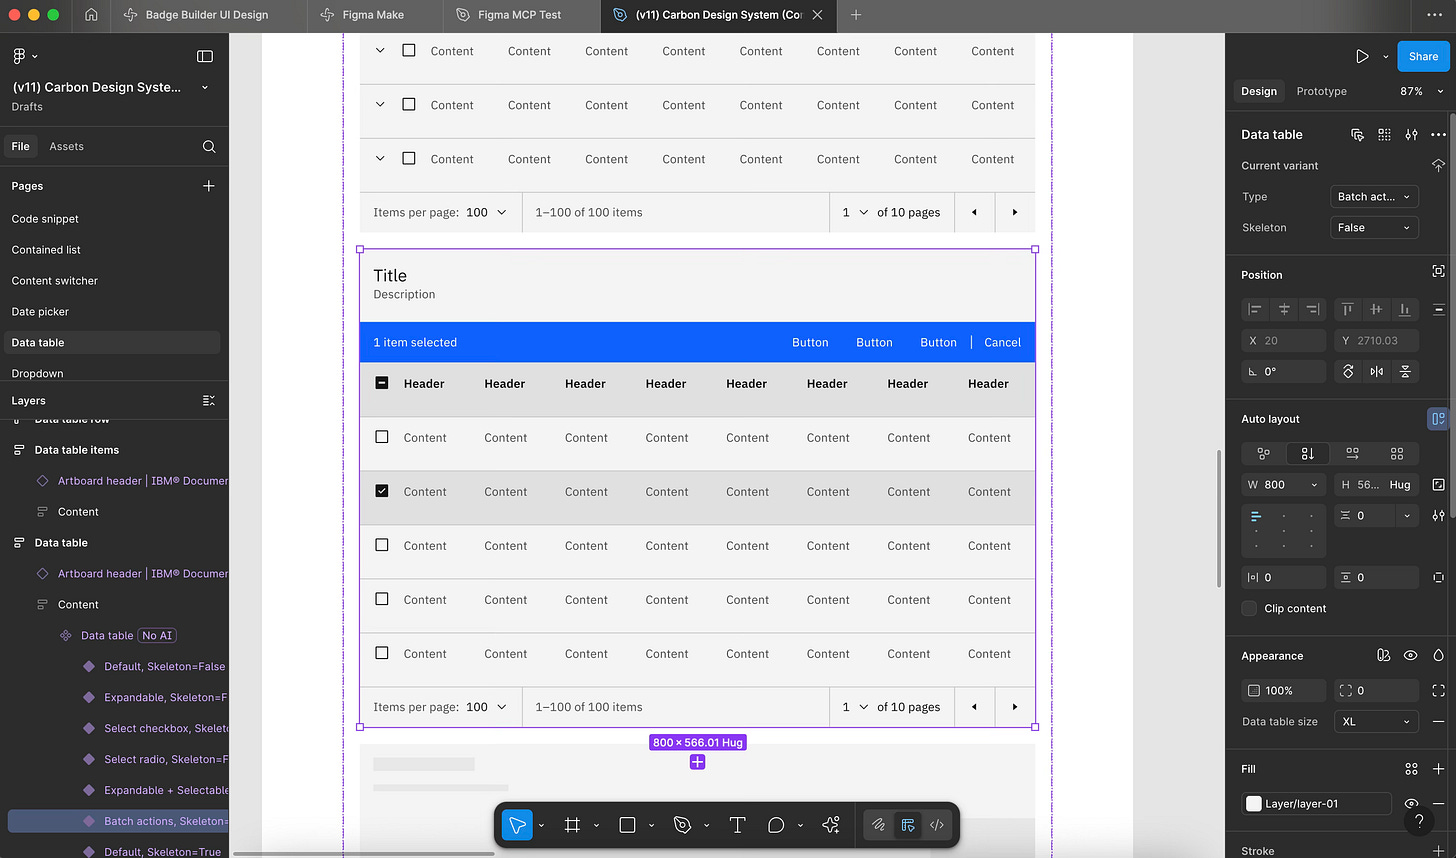
Open the File and go to Page: Data table
Scroll down and select the data table
6. Create a project in Cursor and start prompting
Go to the home screen of your Cursor App:
Click on Open project → New Folder → Name your folder
And we can start promoting in the chat … YAY!!
In the Cursor chat type:
“Please create the table I have selected in Figma”
Cursor is working now… 🥳
It sometimes stops and you have to click “Run”
It takes a while to create the table (this video is 8x speed) and again don’t forget to click on “Run” when it stops
7. Preview your work
Right click on the index.html file → Open with Live Server
If you don’t see this go back to step 4. Install Live Server to preview your work
And there you have your data table!!!
Congraaaats!
You made it!
8. Dark mode / prompts
From here you can try different kind of prompts for example
“Can you suggest dark mode and apply it”
Bonus
Feel free to try some prompts now, you should be more specific with your prompts but here are some very basic examples:
Can you make it interactive I need pagination and I want to see 3 items per page only and select 10 items per page, 25 and 50
Can you come up with data to fill the table fill it with conference attendee first name, last name, email, city, country, ticket type etc use unique entries and do not repeat any entry, do not repeat any first name or last name and use real names
Can you add a filter I want the filter to be in the first row next to country and filter by country and only show the result
Add dark theme and add a dark / light switch in the top right use sun icon for light and moon icon for dark, icon 24 px
I’m neurodivergent come up with accessibility guidelines so the table is easier for me to read and apply these rules
Here is my result (yours might look different)
Ok, that’s it!
Happy vibe coding and experimenting!
I wish you a fabulous day,
Sil
P.S:
You’ll only get good results if you’ve set up variables/tokens and a clear structure.
If you want to learn how to build Design Systems I recommend starting with our conference recordings (over 22 hours of practical content)


